5 Things I Wish I Knew Before Shooting 35mm Film Photography
I started my journey into 35mm film photography approximately 3 years ago. Although that’s not a lot of time, there are many things I wish I had known before I started this journey. In this blog post I’ll go over the top 10 things I wish I knew before I started to shoot 35mm film photography!
If you’re just getting started in film photography or looking to get started, this will be the perfect blog post for you. I’ll be going over in detail the things that you should consider before you pick up your first 35mm film camera and run a roll through it. Let’s get started!
1. 35mm Film Photography is Expensive
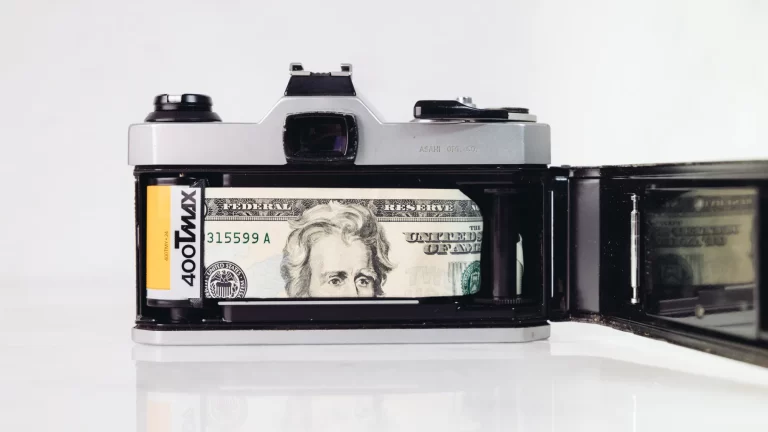
When you are shooting film photography, you will notice that the costs will quickly add up. Sure, the start up costs to shooting film isn’t as high as it would be on a digital format, but the costs of buying film, developing it, and scanning it quickly add up.
When you’re shooting digital, your highest costs are the camera body and a solid lens. There’s actually plenty of good budget options out nowadays too so you could get yourself a kick a** setup for probably less than $1000. But once you get over that hurdle there’s not much more to pay for and you’ll be on your way to taking photos. Sure you may need to pay for an editing software (but there’s also free options!) and storage to store your photos, but that could be an extra $200 at most.
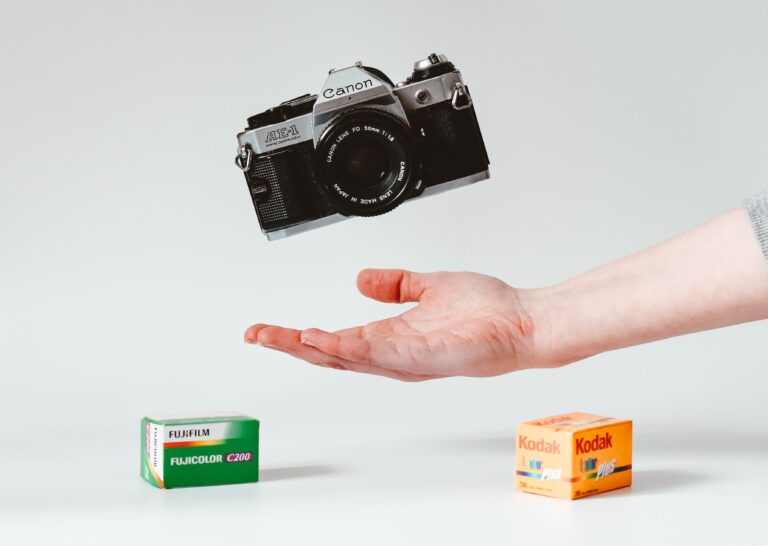
With film photography, you buy your 35mm film camera and a lens. Most of the time the price of these two could be really ‘cheap’ if you’re just getting started. For example, you could get a Canon A-1 or Canon AE-1 and a cheap 50mm lens for around $125-$250. This would be a set up that is more on the expensive side too. If you live near any thrift shops you could potentially find a really good deal on film cameras there too.
But now that you have a camera and a lens, how will you actually take photos with it? You’ll need to buy your 35mm film. Right now one of the cheapest ‘good’ films you can buy is around $6.99 (ilford hp5 plus 400). However film under $10 is most likely black and white film or ECN2 color hand rolled film (more on ECN2 film in another article).
So if you want to capture and admire the beautiful punchy colors of film, you’ll need to invest in some color film stock. Usually you’ll find color film ranging from $10.99-$18.99 in the USA depending on where you live. It’s important to note that film rolls come in 24 exposure or 36 exposures, in this article I’ll be referencing the prices for 36 exposures since this is the most common.
Then when you’re finished shooting 36 exposures, in order to actually see your work you’ll need to go to a lab to get it developed and scanned. Developing typically cost $5-$15 PER ROLL.. However even after developing your photos, you will not be able to see the photos you took because you still need to get it scanned. Depending on where you go, this can range from $5-$15 ($5 scans will usually be lower quality, so the more you pay the higher resolution your photos will end up being).
So the process to actually shoot ONE roll of film from beginning to end ends up being… cost of film + cost of development + cost of scanning
Example 35mm Film Photography Costs
Let’s run through a quick example to see how much it’ll end up costing you to shoot some film. We will assume development costs are $10/roll and we’ll get basic quality scans at $5.
Shooting Black and white film
1. Cost of film roll = $6.99
2. Development costs = $10
3. Scanning costs = $5
Total Costs = 6.99 + 10 + 5 = 21.99
Shooting Color film
1. Cost of film roll = $14.99 (as a general average)
2. Development costs = $10
3. Scanning costs = $5
Total Costs = 14.99 + 10 + 5 = 29.99
So the total cost per photo can be thought of as approximately $21.99 / 36 = $0.61 for black and white film and 29.99 / 36 = $0.83 for color photos.
This is really expensive compared to digital where up front costs might be more expensive, but shooting and viewing your photos are nearly zero cost to you once you have the basic set up.
2. 35mm Film Cameras Don't Have Autofocus
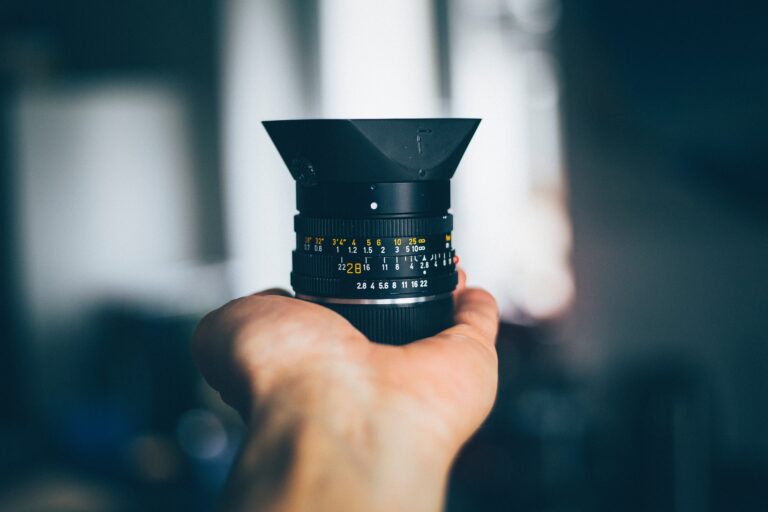
Okay, that’s actually a lie. There are a many 35mm film cameras (the late 1900’s / early 2000’s Canon and Nikon series cameras and point and shoot cameras) that have auto focus but the ones you will most often see are manual cameras.
I come from shooting a Sony A7iii with quick and accurate autofocus so this was a really big issue for me at first. So if you are not ready to fiddle around with manual focus, 35mm film photography may not be for you (unless you choose to buy a film camera with those features).
The great part about not having autofocus is that this slows your entire photography process down. For me slowing down the process of photographing has been great because it forces me to think more about my composition and also forces me to become more creative. Pair this with the fact that it almost costs $1 per shot and you’ll notice that each and every shot you take becomes more deliberate and purposeful.
So for creatives with a fast paced shooting style, film may not be a great choice for you. Although there are many successful street photographers out there who are able to do it every day so it’s definitely possible. With enough practice, patience, and a solid understanding of hyperfocal distance and zone focusing you will be able to capture fast paced 35mm film photography with a manual camera too.
3. Not All Film Stocks are Made Equal
There are many film stocks out there to choose from. I actually remember having analysis paralysis when I first started to shoot 35mm film photography because there were just so many choices.
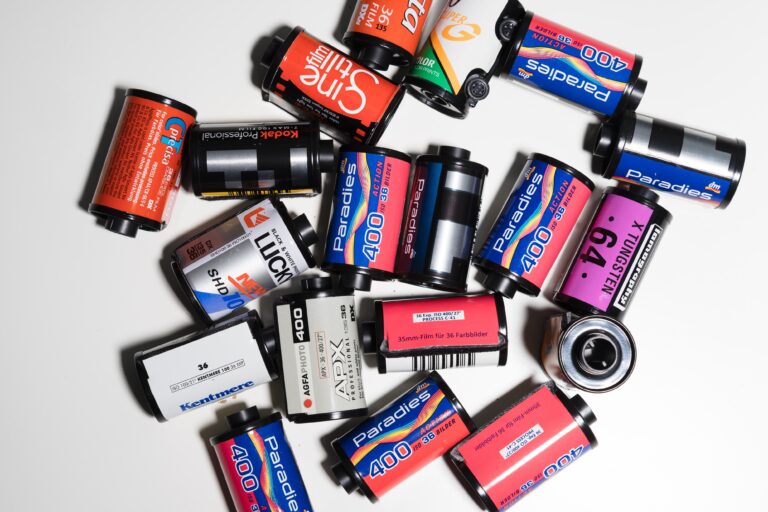
As a general tip, it’s important to remember that not all film stocks are made equal and each roll of film can produce different results from one another. To make things even more interesting, different brands of films also produce different results.
For example, Fuji Film branded films usually produce photos with a greener tint whereas Kodak films generally have a warmer color cast. So just like in digital photography where we often talk about color science differences between the different brands of cameras, each film has slight differences in their color science.
Furthermore, some films also have their own specific white balance that they’re set to. An example is CineStill 800T which has a tungsten white balance.
If you are just getting started, I recommend sticking with Kodak film. Some of my favorite film stocks from Kodak are Kodak Gold 200 and Kodak Portra 400. You will often see these film stocks recommended and for good reason! Shooting with either one of these has always produced my favorite images. I think they generally produce vibrant and punchy colors and generally keep skin tones looking true to life.
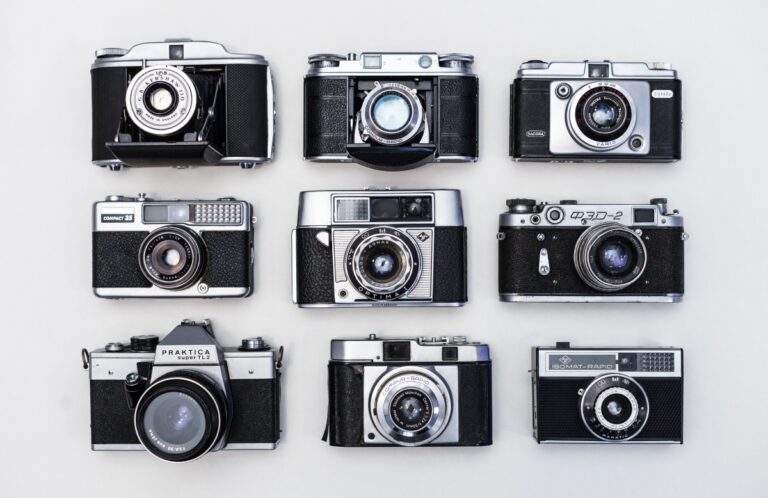
4. Not All Film Cameras Are Made Equal
This might be an obvious one, but it’s important to really understand that not all film cameras are made equal. Unlike with digital cameras where there is certain standard of set features (i.e solid autofocus, built in meters, aperture priority, auto-exposure mode, etc.) most film cameras do not have a standard set of features that all film cameras have. This is because film cameras were made ages ago and companies were still innovating rapidly each year.
So when you’re buying a film camera, it’s important to consider what types of things you’d want your camera to have. Do you want the ability to shoot auto-exposure? Do you want aperture priority mode? What about a waist level view finder? What about mechanical shutter? Do you want auto-focus? Do you want your set up to be extremely light and packable (maybe look into point and shoots)? Do you need a hot shoe mount?
These are some questions you might want to ask yourself as you’re starting to look for your first 35mm film camera. It’s better to get the right piece of gear on the first try instead of buying a bunch of gear to try!
For me, aperture priority was a deal break which helped me land on a Canon A-1. As I become more experienced with shooting with film, I found myself wanting a waist level view finder and so I also eventually bought a Nikon F3. All that is to say is that you’ll most likely have your own needs and it’s important to consider these needs first before browsing the eBay shelves of film cameras.

5. There Are Ways to Save Money When Shooting 35mm Film
To wrap all this up, I’d like to also mention that there is a way to save a lot of money on all things film. I will be writing a longer article on several of these topics in the future so I will just briefly mention the few best ways to save money while shooting 35mm film photography.
- Buy your film in bulk. Bulk film rolls are an excellent way to save money. What you will do is buy a 100ft, 200ft, or even 400ft roll of film and roll the film into your own film cassettes. (I’ll be making an in-depth tutorial to this in the future, but there are many good examples on Youtube). It’s important to note that you will not be able to bulk roll any commercial color film that you want. If you want color film you will be bulk rolling Kodak Vision3 film which is a motion picture film that needs to be developed using ECN-2 process which is not supported at most labs (where C-41 is the norm). As for black and white, there are good options like ilford HP5 in 100ft rolls that you can bulk roll if black and white film is your jam.
- Developing film at home. There are many kits out there for C-41 and ECN-2 film development at home. You will need to buy a few things to get this process to work (like different chemicals, containers and bottles to store the chemicals, etc.), but overall the costs for developing film at home are much lower than at a film lab.
- Scanning your own film. Scanning your own film is another great way to save money at home. If you’re a digital photographer then that means you’re almost half way there to being able to scan your own negatives at home. Not only is scanning your own photos going to save you money, but usually the quality of the scans are much better than most labs. Again, this is another topic I will be going more in-depth in later on, but all you will need to scan your photos at home is a digital camera, a macro lens (or any lens with a macro extension tube), a bright light source, a film carrier to hold your film flat, and a tripod.
Conclusion
The journey into film has been fun and really rewarding. When I first started I was really confused with all the different components that I needed to consider when shooting film and so I thought I’d make this article for anyone else who might also be interested in starting their 35mm film photography journey.
Please let me know if this helped you! If you want to read more of my blogs, please visit my blog page for my most recent articles on everything film photography! Thanks again for reading, I wish you the best in your new journey into shooting film :).
